Last updated October 30, 2026
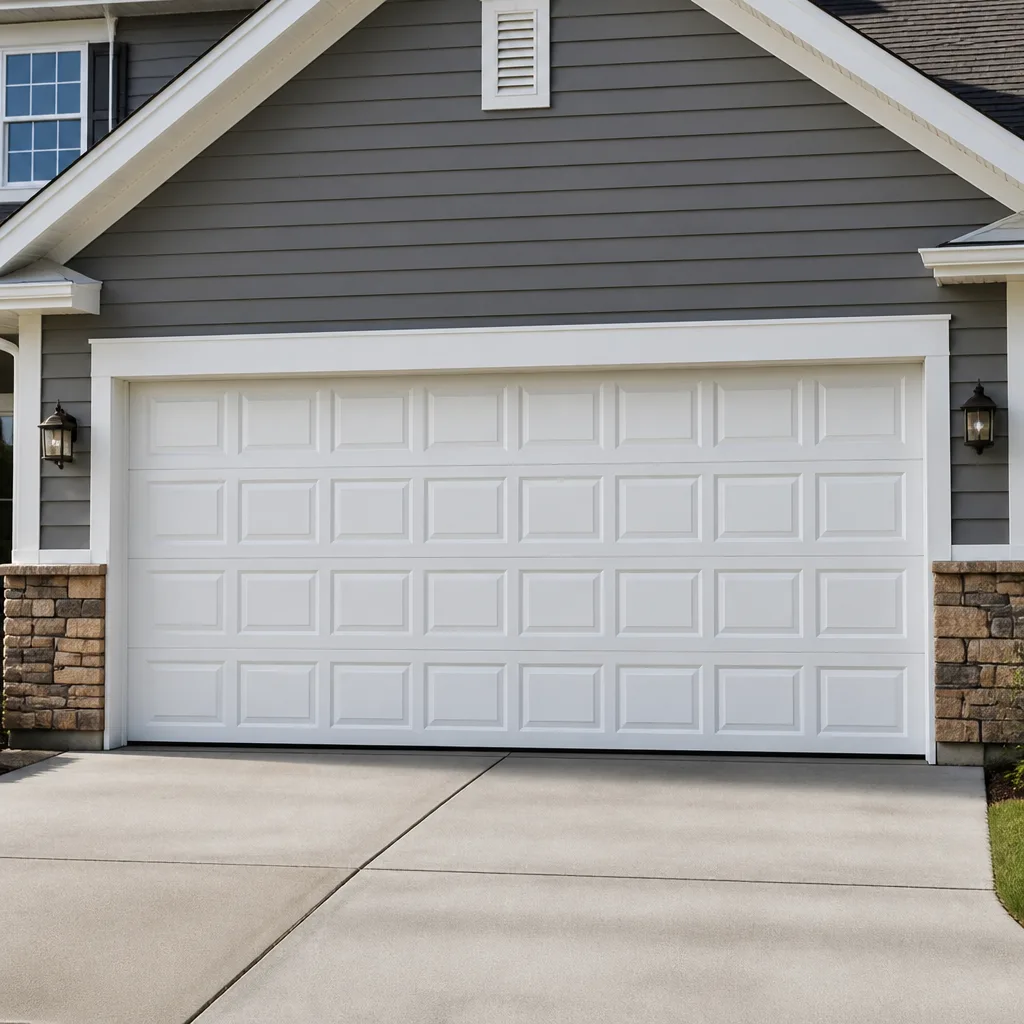 Raised-panel steel
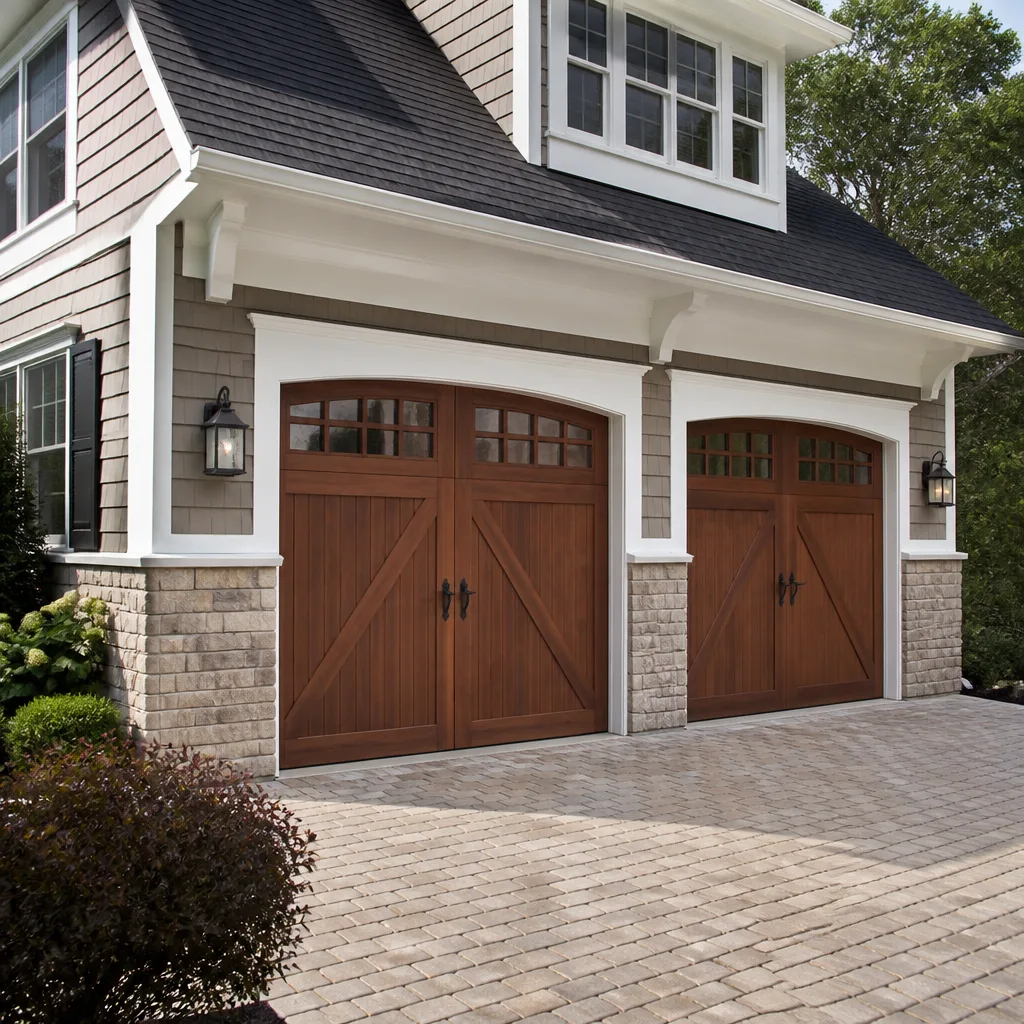 Carriage house
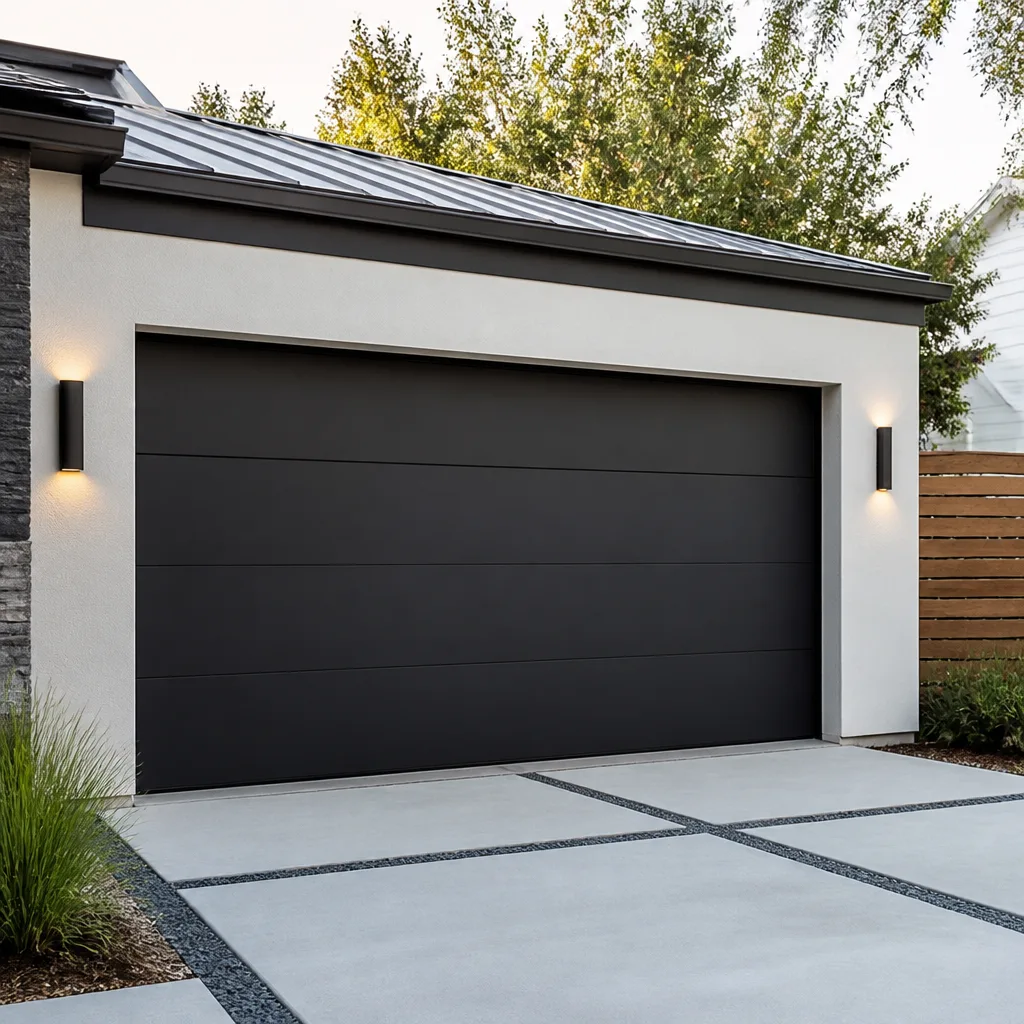 Modern flush
 Full-view glass
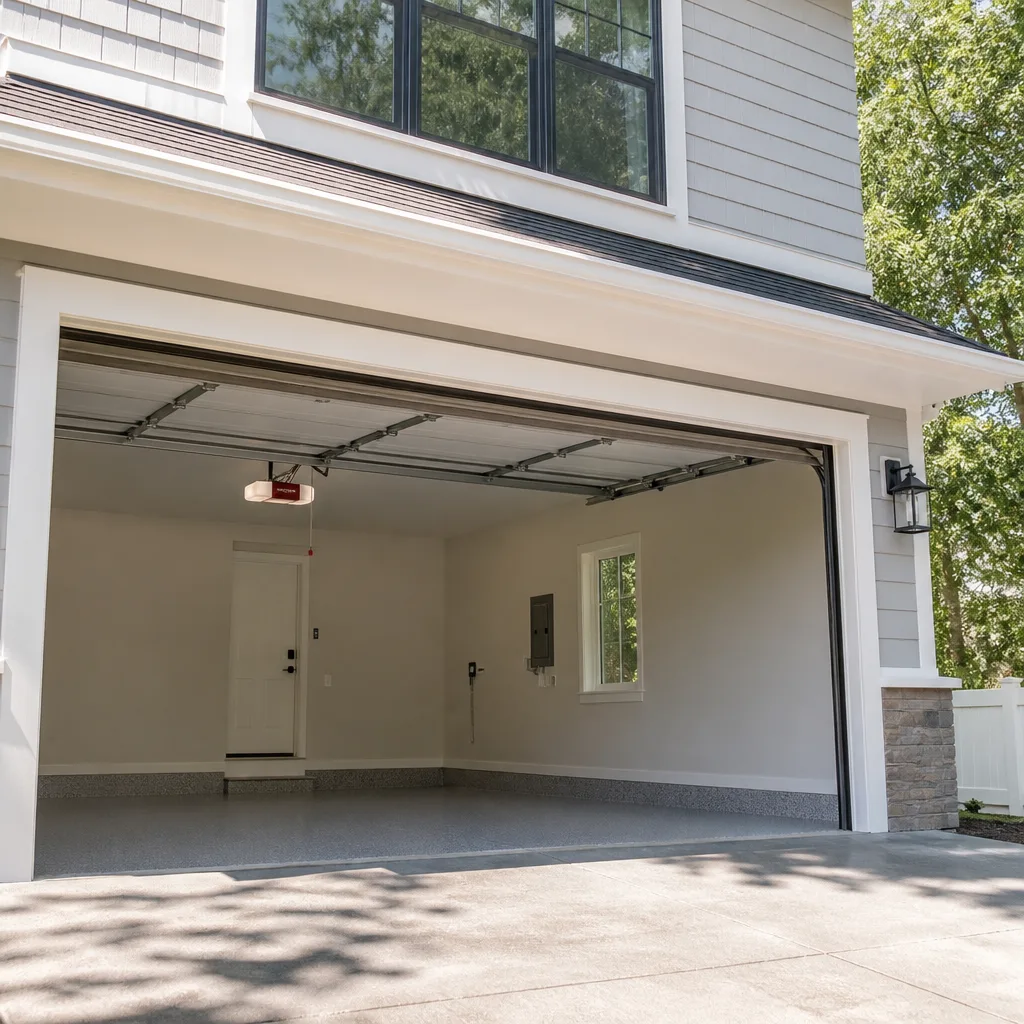 LiftMaster openers
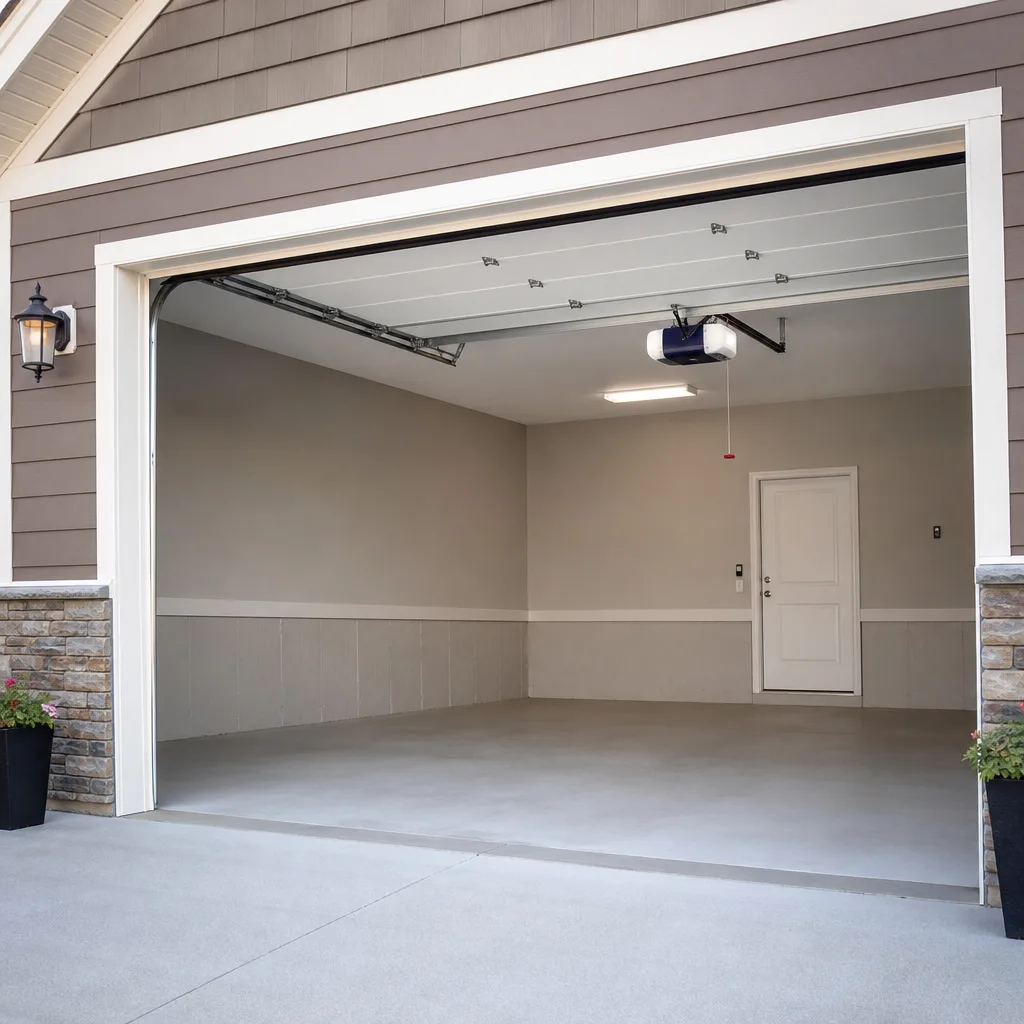 Chamberlain openers
Full 25-point door and opener safety check with every visit - springs, cables, rollers, tracks, and your LiftMaster or Chamberlain opener included
You get a price before we start. It does not change when the truck arrives.
Get your free estimateGarage Door Repair Troubleshooting: Common Problems and How to Fix Them
If your garage door reverses before it hits the ground, every guide will tell you to adjust the limit switch. But in roughly 40% of the cases we see in Oceanside, that’s the wrong fix and you’ll be back in three weeks with the same problem. The door isn’t disobeying you. It’s sending a signal. This guide teaches you how to read that signal, trace it to the actual mechanical or electrical cause, and know which fixes are safe to do yourself and which ones need our Garage Door Repair services. You’ll learn how to isolate problems between the door hardware, the opener, and the sensors, what specific sounds mean, and why two different opener brands can fail in opposite ways even when the symptom looks identical.
Styles & brands we work with
Quick Answer
Most garage door problems trace to one of four root causes: broken or worn springs, misaligned or obstructed sensors, a failing opener motor or logic board, or track and roller wear. Start by disconnecting the opener and lifting the door manually to test the door’s balance and hardware independently. If the door is heavy or won’t stay up, the problem is mechanical. If it moves smoothly by hand, the problem is in the opener or sensors. Any spring repair requires a trained professional, while sensor alignment and roller lubrication are safe for homeowners. For Garage Door Warning Signs: A Oceanside Homeowner’s Reference Guide, see our dedicated resource.
Table of Contents
- Symptom to Root Cause: How to Read the Signal Chain
- What Your Garage Door Is Telling You: A Field Guide to Sounds
- Sensor Problems: The Most Misdiagnosed Garage Door Issue
- Spring Problems: What’s Safe to Check and What’s Not
- Opener Problems: Isolating Motor, Logic Board, and Remote Issues
- Brand-Specific Opener Logic: LiftMaster vs. Chamberlain vs. Genie vs. Raynor
- Track, Roller, and Cable Wear: The Slow Killers
- Common Mistakes to Avoid
- When to Call a Professional
- Frequently Asked Questions
- The Bottom Line
Symptom to Root Cause: How to Read the Signal Chain
A garage door is a system of systems. The door itself is mechanical: springs under tension, cables, rollers, tracks, hinges. The opener is electronic: motor, logic board, limit switches, remote receiver. The sensors bridge both worlds. When something fails, the symptom you notice first is rarely the component that actually broke. A door that stops halfway up might look like a limit switch problem, but in our experience it’s usually a tension imbalance that makes the opener work harder than it should, which trips the force sensor, which stops the door. Three layers deep.
Here’s the decision tree we use to isolate the root cause before touching anything:
- Disconnect the opener. Pull the red emergency release cord. This separates the door from the motor completely.
- Lift the door manually. A balanced door should lift smoothly with roughly 10 to 15 pounds of effort and stay put at waist height without drifting up or down.
- If it’s heavy, stuck, or slams down: the problem is mechanical. Springs, cables, rollers, or tracks are the culprit. Do not run the opener until this is resolved. A forced operation can burn out the motor or snap a cable under load.
- If it moves smoothly by hand: the door hardware is fine. The problem lives in the opener, the sensors, or the remote. Re-engage the opener and run it with eyes on each sensor LED.
This single test saves Oceanview homeowners hundreds of dollars in unnecessary opener repairs. In coastal Oceanside, salt air adds another layer: corrosion on sensor brackets and roller bearings is common within two years of installation if the door faces the ocean breeze. A stiff roller feels exactly like a failing opener motor when the door runs, but the manual lift test separates them instantly.
A slow door is another classic symptom chain. Three root causes produce identical sluggishness: worn rollers that drag instead of turn, a failing opener motor losing torque, or a tension imbalance where one spring is weaker than the other. Here’s how to tell them apart without special tools:
- Disconnect and lift manually. If it feels gritty or rough, rollers are worn. If it’s smooth but heavy, tension is off. If it’s light and smooth, the opener is suspect.
- Watch the rollers. With the door moving under opener power, look at each roller. A roller that slides instead of spins means a frozen bearing. This creates drag that mimics motor failure.
- Listen to the opener. A motor losing torque hums lower and slower over time. If the door used to open in 8 seconds and now takes 12, it’s not a subjective feeling. It’s measurable wear.
Diagnosing correctly the first time is the difference between a $15 roller replacement and a $300 opener rebuild. That’s why Garage Door Repair in Oceanside starts with this isolation test on every single call.
What Your Garage Door Is Telling You: A Field Guide to Sounds
Garage doors have a vocabulary. Each sound maps to a specific mechanical condition, and once you learn the mapping, you can diagnose from across the street. Here’s what we listen for on every Oceanside service call:
- Squeaking or chirping during movement: dry roller bearings or hinge pins. The squeak is friction, not the malfunction itself. It’s the earliest warning of bearing wear. Lubricating quiets it temporarily, but a roller that has been dry long enough to squeak usually has play in the bearing that lubrication can’t restore. The fix is new rollers, not more grease.
- Grinding or growling: metal on metal contact. This means the roller has stopped rolling entirely and is now sliding in the track, or the track itself is misaligned and the wheel is grinding against the rail. Continued operation will carve grooves into the track and destroy the roller stem.
- A sharp pop or bang at the moment of failure: a spring snapped. This is unmistakable when you’re nearby. The sound is the release of stored tension. After a spring breaks, the opener will not lift the door. Do not try. The opener motor will strain and overheat, and one broken spring means the second is carrying double load and will fail soon after.
- A rhythmic thumping as the door moves: a loose hinge, a bent panel, or a roller that has flat-spotted. The thump corresponds to a specific point in the travel cycle. Time it: if it happens once per roller rotation, it’s the roller. If it happens at the same door position every time, it’s a hinge or panel issue.
- Chain rattle or belt slop: on chain-drive openers, a rattling chain usually means loose tension. On belt-drive openers, a flapping belt means worn sprockets. Both are opener-side issues, not door-side, and both are repairable without replacing the opener.
- A humming sound with no movement: the opener motor is running but the door is not. This is either a stripped gear inside the opener (common on older Genie screw-drive models), a detached trolley, or a broken spring. The motor hums because it’s trying, but the mechanical path is broken.
In Fire Mountain and Rancho del Oro neighborhoods, where many homes have original doors from the early 2000s, we hear the same three sounds on repeat: squeaky nylon rollers that have outlived their bearing life, growling steel rollers in salt-corroded tracks, and the flat pop of a spring giving out. Each sound tells us where to look before we’ve touched a single component.
Sensor Problems: The Most Misdiagnosed Garage Door Issue
The photo-eye sensors sit about six inches off the ground on either side of the door opening. Their job is simple: if anything breaks the invisible beam between them while the door is closing, the door reverses. When they malfunction, the symptom is almost always the same: the door starts to close, then reverses and the opener lights flash. Most guides tell you to clean the lens and move on. That works sometimes. But in our experience across South Oceanside, more than half of recurring sensor trips are not lens problems at all.
Here’s the full diagnostic chain, in order:
- Check the LEDs. Both sensors should show a small light. Green means aligned and sending. Red or amber means the beam is blocked or the sensor is misaligned. No light at all means no power to that sensor.
- Clean both lenses. Use a dry cloth. In coastal air, a fine salt film builds up fast. This fixes maybe 30% of cases.
- Check alignment. The sensors must point directly at each other. A bump from a bicycle or trash can nudges one off axis. Adjust the bracket until both LEDs are solid.
- Check the wiring. Sensor wires run from each sensor up the wall to the opener. They’re low-voltage but exposed. Pinched wires, chewed insulation, or corroded connections (common in salt air) cause intermittent breaks that look exactly like alignment problems.
- Check sunlight interference. Direct sunlight hitting a sensor lens can overwhelm the infrared receiver. In west-facing or east-facing garages in Oceanside, this happens at specific times of day. Shield the sensor with a piece of cardboard or a small tube extension on the bracket.
- Check the mounting brackets. If a bracket is loose, the sensor vibrates as the door moves, breaking the beam intermittently. The door will reverse at random points in the travel, driving homeowners crazy because it’s inconsistent.
Most of these fixes are safe and straightforward for homeowners. The exception is wiring: if you see exposed copper, cracked insulation, or signs of rodent chewing, they often share conduit with opener power wires and a short can damage the logic board. At that point, a professional diagnosis saves you from a $200-plus board replacement later.
Sensor problems feel urgent because the door won’t close, but they’re rarely dangerous. The danger lives elsewhere in the system. If your sensors check out clean and the door still reverses, the force adjustment on the opener may be set too sensitive, or the door balance has drifted and the opener is working harder than it should. The manual lift test from the first section tells you which one you’re dealing with.
Spring Problems: What’s Safe to Check and What’s Not
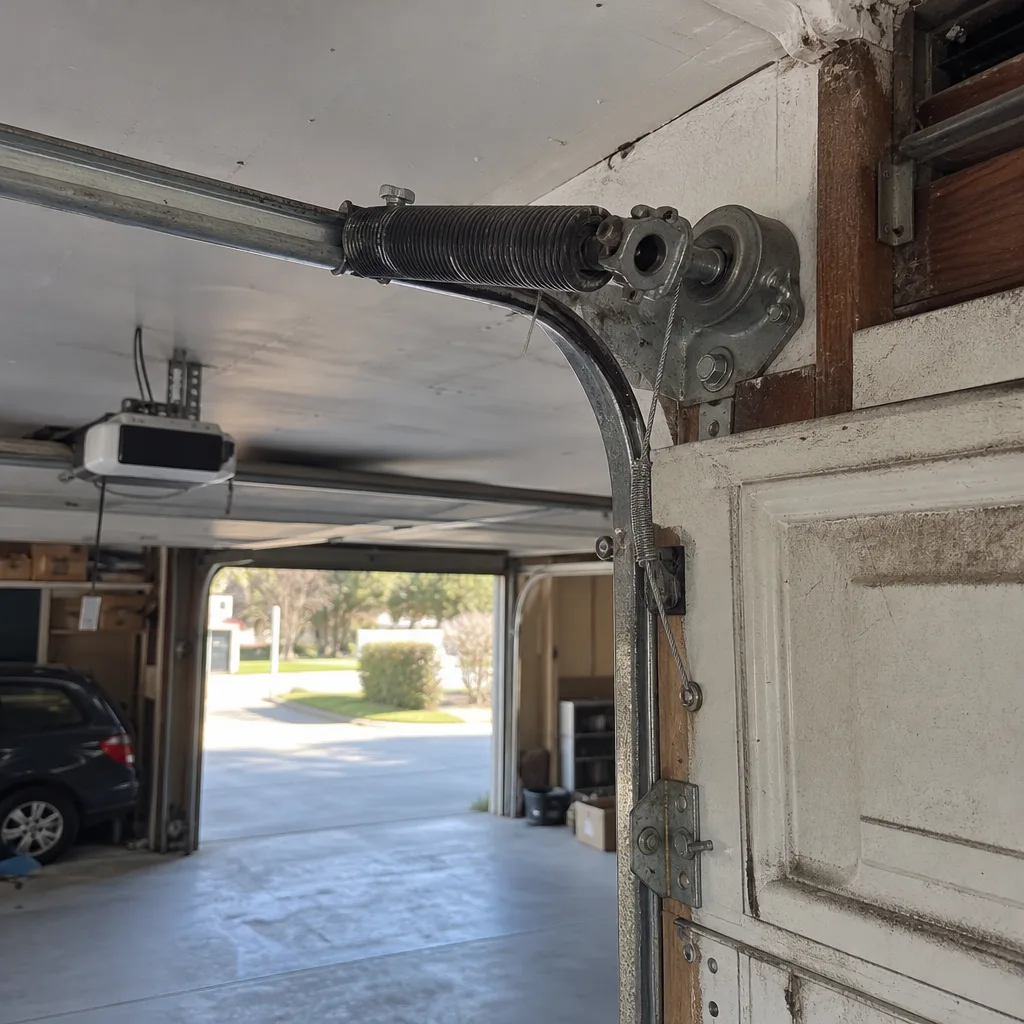
Torsion springs are the most dangerous components in your home. They store enough energy to lift a 200-pound door hundreds of times, and when one breaks, that energy releases instantly. The spring itself is the messenger, not the root cause: springs break because they’ve reached the end of their cycle life. Most residential springs are rated for about 10,000 cycles, which translates to roughly 7 to 10 years of normal use in an Oceanside household. When one spring breaks, the other is the same age and near failure.
Here’s what’s safe to check yourself:
- Visual inspection. Look at the torsion spring above the door. If you see a gap in the coil, the spring is broken. This is a visual diagnosis, nothing more.
- Balance test. Disconnect the opener and lift the door manually. A door with one broken spring will feel significantly heavier on one side and may twist as you lift it. Let go at waist height and see if it holds.
- Listen for the pop. As covered above, a spring failure makes a sharp bang. If you heard it, you know what happened.
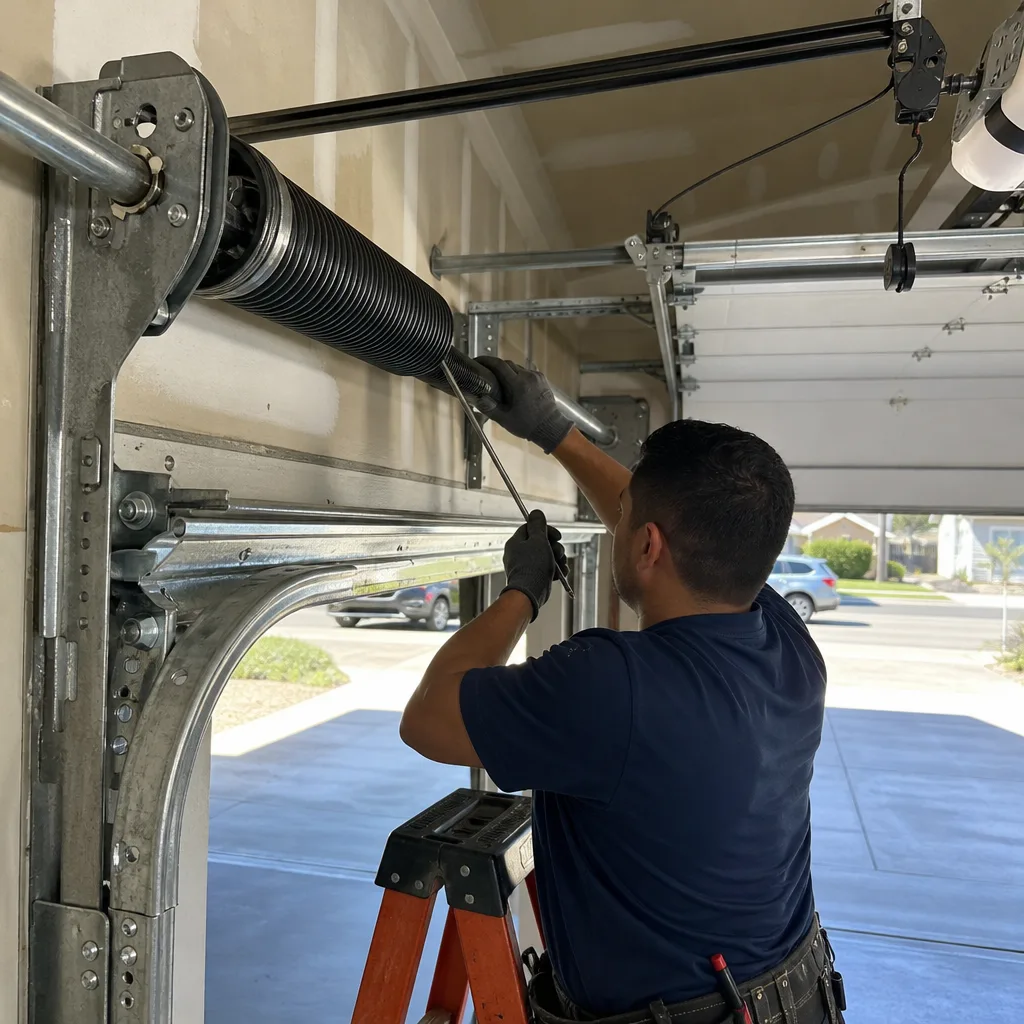
What’s not safe: anything that involves touching the spring, unwinding it, adjusting tension, or replacing it. A torsion spring under load can remove fingers or kill. It’s not a home-improvement challenge. It’s a job for a trained specialist with the right winding bars and experience reading spring wire gauge and cycle ratings. This is non-negotiable, and we say it on every call: spring replacement is a professional job, period.
Extension springs, found on older doors instead of torsion springs, are slightly different but no safer. They stretch along the horizontal track and are supposed to have safety cables running through them. If the cable is missing and the spring snaps, it becomes a steel projectile. Extension spring failure is also a professional repair.
The good news is that spring replacement is a known quantity. A garage door specialist replaces both springs at once, matches the wire gauge and inner diameter to your door’s weight, and sets the tension so the door balances correctly. The price is quoted and agreed before any work starts, so there’s no surprise when the invoice comes. If you’re in Oceanside and suspect a spring failure, call us for a free estimate. We’ll diagnose it accurately and give you the number before touching anything.
Opener Problems: Isolating Motor, Logic Board, and Remote Issues
Openers are the electronic heart of the system, and they fail in predictable ways. The trick is knowing which component inside the opener is the problem, because the symptoms overlap heavily. A door that opens but won’t close could be sensors, force settings, or a failing logic board. A door that won’t respond to the remote could be the remote battery, the receiver, or the board. Here’s how to isolate each subsystem:
The Motor
Opener motors are rated by horsepower, typically 1/2 HP to 1-1/4 HP, and they wear out after 10 to 15 years of cycles. A failing motor loses torque gradually. The door moves slower than it used to, and the motor housing runs hot. If the door moves fine by hand but slowly under opener power, and the opener is older than a decade, the motor is at end of life. Replacing just the motor usually isn’t cost-effective; the gear train and logic board are the same age and will fail next. This is when Garage Door Opener Repair in Oceanside often means a full opener replacement, not a motor swap.
The Logic Board
The logic board is the brains. It processes sensor signals, force feedback, and remote commands. When it fails, symptoms are weird and intermittent: the opener runs but won’t respond to remotes, or it opens but the safety reverse doesn’t work, or the lights flicker and the unit resets. Board failure is common after power surges, which happen in Oceanside during Santa Ana wind events when lines flex and arc. A surge protector on the opener outlet is cheap insurance.
The Remote and Receiver
If the wall button works but the remote doesn’t, start with the battery. Then check if the remote has been accidentally erased from the opener’s memory. Then check the receiver. On most modern openers, the receiver is integrated into the logic board, which means remote failure plus wall button failure pointing at the board. But remote failure alone is usually a simple programming issue or a dead remote, both cheap fixes.
Brand-Specific Opener Logic: LiftMaster vs. Chamberlain vs. Genie vs. Raynor
One of the reasons generalist handymen misdiagnose openers is that different brands fail differently. The same symptom, a door that reverses near the ground, has different most-likely causes depending on what’s bolted to your ceiling. We work on all four of these brands constantly, and here’s what that brand familiarity teaches:
LiftMaster openers are known for their force-sensing logic. They’re more aggressive about reversing when they detect resistance, which is a safety feature. The side effect is that a LiftMaster will reverse for a slightly unbalanced door or a dry track that a different brand would power through. On a LiftMaster, if the door reverses near the ground, check the door’s manual balance before touching the force adjustment. The opener is usually telling you something real.
Chamberlain shares a parent company with LiftMaster and many internal components, but the programming logic differs. Chamberlain units are more likely to lose their travel limits after a power outage, especially on models from 2015 and later. A Chamberlain door that consistently stops at the wrong position or reverses partway down is often a limit reset issue, not a physical problem. Reprogramming the limits fixes it in minutes.
Genie has a long history of screw-drive and belt-drive units. Older Genie screw-drives from the late 90s and early 2000s wear out their drive gears visibly: you’ll hear a grinding sound from inside the unit while the door barely moves. The gear is replaceable, and many Oceanside homeowners with original Genie units from that era have had the gear replaced twice. The rest of the opener keeps working fine.
Raynor is less common but we service them regularly. Raynor openers are generally reliable, but their logic boards are sensitive to voltage fluctuation. A Raynor that works fine for a week and then acts dead for no reason is usually the board, especially after any work on the home’s electrical panel. The fix is board replacement or opener replacement, depending on age.
This is the “we work on your brand” philosophy in practice. We don’t tell you to replace a good opener because it’s not the brand we sell. We fix what’s there. That’s why brand-specific diagnostic knowledge matters: it saves you from an unnecessary replacement and gets the actual problem fixed the first time.
Track, Roller, and Cable Wear: The Slow Killers
Tracks and rollers don’t fail suddenly the way springs do. They wear gradually, and by the time you notice, they’ve usually done damage that goes beyond lubrication. In Oceanside, the marine layer adds a specific complication: salt-laden air accelerates corrosion on exposed steel components. Homes within a mile of the coast see faster roller bearing wear and track surface corrosion than homes in the inland San Luis Rey valley.
Here’s what to check and what each finding means:
- Track alignment. Stand inside the garage with the door closed and sight down the vertical track. It should be perfectly straight. A visible bend or bow means the track was hit (often by a car bumper backing in) or the mounting brackets have loosened. A bent track forces the rollers to work at an angle, which destroys roller bearings and can derail the door entirely.
- Roller condition. Rollers come in steel, nylon, and nylon-covered steel. The bearing is the weak point. A roller that spins freely by hand is healthy. One that wobbles, sticks, or has visible play in the shaft is done. Replacing all rollers at once is the right call: if one has failed, the others are the same age.
- Cable condition. The lift cables run along each side of the door, spooling onto drums at the top. Look for fraying, kinking, or rust staining. A frayed cable is a broken cable waiting to happen, and a cable that parts under load releases the spring tension on one side only, which can throw the door out of its tracks and cause serious injury.
- Hinge and bracket tightness. Every hinge and bracket bolt should be snug. Loose hardware is the most common cause of the rhythmic thumping sound we covered earlier, and the fix is simple: tighten the bolts. But a hinge that has worked loose repeatedly may have stripped threads, and re-tightening just delays the next failure.
Track and roller work is a gray zone for DIY. Tightening loose bolts and clearing debris from the track is safe. Straightening a bent track or replacing a cable under tension is not. Cables carry spring load, and attempting to adjust or replace them without releasing tension correctly is another professional-only job.
For homeowners in Mira Costa and Ocean Hills who are planning to keep their existing door for another decade, a full hardware refresh makes sense: new rollers, new hinges, tightened brackets, and fresh lubrication. The door runs quieter, the opener works less, and everything lasts longer. It’s a fraction of the cost of a new door and the results are immediate. If you’re planning a bigger change, Garage Door Installation in Oceanside is where we help you choose the right door for your home and budget, without any pressure to upsell.
Common Mistakes to Avoid
- Lubricating a squeaky door without checking the bearing. Lubrication quiets the symptom but does nothing for a worn bearing. The squeak comes back in weeks, and by then the roller has carved a groove into the track. Diagnose first, lubricate second.
- Adjusting the opener force settings to push through a hardware problem. If the door is heavy because a spring is weak or a roller is seized, increasing the opener force just masks the problem while stressing the motor. The door might work for a month, then the spring breaks or the motor burns out and you’re paying for both.
- Replacing one torn spring instead of both. Torsion springs are sold in matched pairs and always installed in pairs. Replacing one saves money today and guarantees a second service call soon, plus an unbalanced door in the meantime.
- Ignoring intermittent sensor trips. A door that reverses “sometimes” but works “most of the time” is not fixed. It’s failing intermittently, which means the problem is real and getting worse. Wiring, bracket, or alignment issues don’t self-heal.
- Not pulling the emergency release before lifting the door manually. If you try to lift a door that’s still connected to the opener, you’re fighting the motor and the drive system. The release cord exists for a reason. Use it.
- Using WD-40 on rollers and hinges. WD-40 is a solvent and water displacer, not a lubricant. It strips away existing grease and leaves metal dry. Use a silicone-based or lithium-based garage door lubricant instead.
- Assuming a new opener will fix a door problem. If the door is heavy, unbalanced, or has seized rollers, a new opener will strain against it from day one and fail early. The door comes first, the opener second.
When to Call a Professional
Some problems are safe to troubleshoot and even fix yourself: sensor alignment, remote programming, hinge tightening, lubrication. The line in the sand is tension. Springs, cables, and anything attached to them are dangerous and off-limits for DIY work. If you hear a loud pop, call a professional. If the door is heavy when you lift it manually, call a professional. If the cable is fraying or the track is bent, call a professional. In any of these cases, the cost of a service call is less than the emergency room bill. Canyon Garage Door Repair offers free estimates throughout Oceanside. Call (844) 295-2241 and we’ll diagnose the problem on site, give you a written price before any work starts, and fix it right the first time.
Frequently Asked Questions
Most often it’s the photo-eye sensors being blocked, misaligned, or hit by direct sunlight. If the sensors check out, the opener’s force setting may be too sensitive, or the door balance has shifted and the opener is working harder than it should. Test the door manually first: if it’s heavy, the problem is mechanical, not electronic.
Spring replacement typically runs between $180 and $350 for a pair of torsion springs in the Oceanside market, depending on spring size and door weight. The exact price depends on your door’s specifications, and it’s quoted and agreed before any work begins. Call (844) 295-2241 for a free estimate.
No. Torsion springs hold enough stored energy to cause serious injury or death if mishandled. This is the one repair that every honest professional will tell you to leave alone. Extension springs are no safer. Call a garage door specialist instead.
Loud operation usually comes from dry or worn roller bearings, loose hinges, or a chain that needs tensioning. Lubrication quiets dry bearings temporarily, but worn bearings need replacement. A grinding noise means metal on metal contact and needs to be addressed before the track gets damaged.
Intermittent operation points to a failing logic board, a loose wire, or sensor misalignment that only occurs at certain times or positions. In Oceanside, power surges during Santa Ana winds can degrade opener boards over time, causing random failures. A professional can isolate the cause quickly.
A well-maintained steel door lasts 15 to 20 years in Oceanside, but coastal salt air shortens the life of exposed hardware like springs, cables, and roller bearings. Expect to replace rollers every 5 to 7 years and springs every 7 to 10 years in homes within a mile of the coast.
The Bottom Line
Your garage door sends signals before it fails. A squeak means a bearing is wearing. A reversal means the sensors or the force logic are doing their job. A slow door means something in the chain is creating drag. Learning to read those signals separates a quiet fix from an emergency breakdown. The manual lift test is your most powerful diagnostic tool, and knowing where the danger line sits keeps you safe. For everything past that line, call a garage door specialist who works on your brand and fixes the actual cause, not just the symptom. Explore more guides & resources to keep your system running smoothly.
If your garage door is acting up in Oceanside, start with the free diagnosis. Call Canyon Garage Door Repair at (844) 295-2241 for a free estimate, and we’ll walk you through what’s wrong and what it’ll take to fix it, no pressure and no surprise pricing.
Written by the team at Canyon Garage Door Repair, serving Oceanside since 2017.
See the difference
 Before
 After
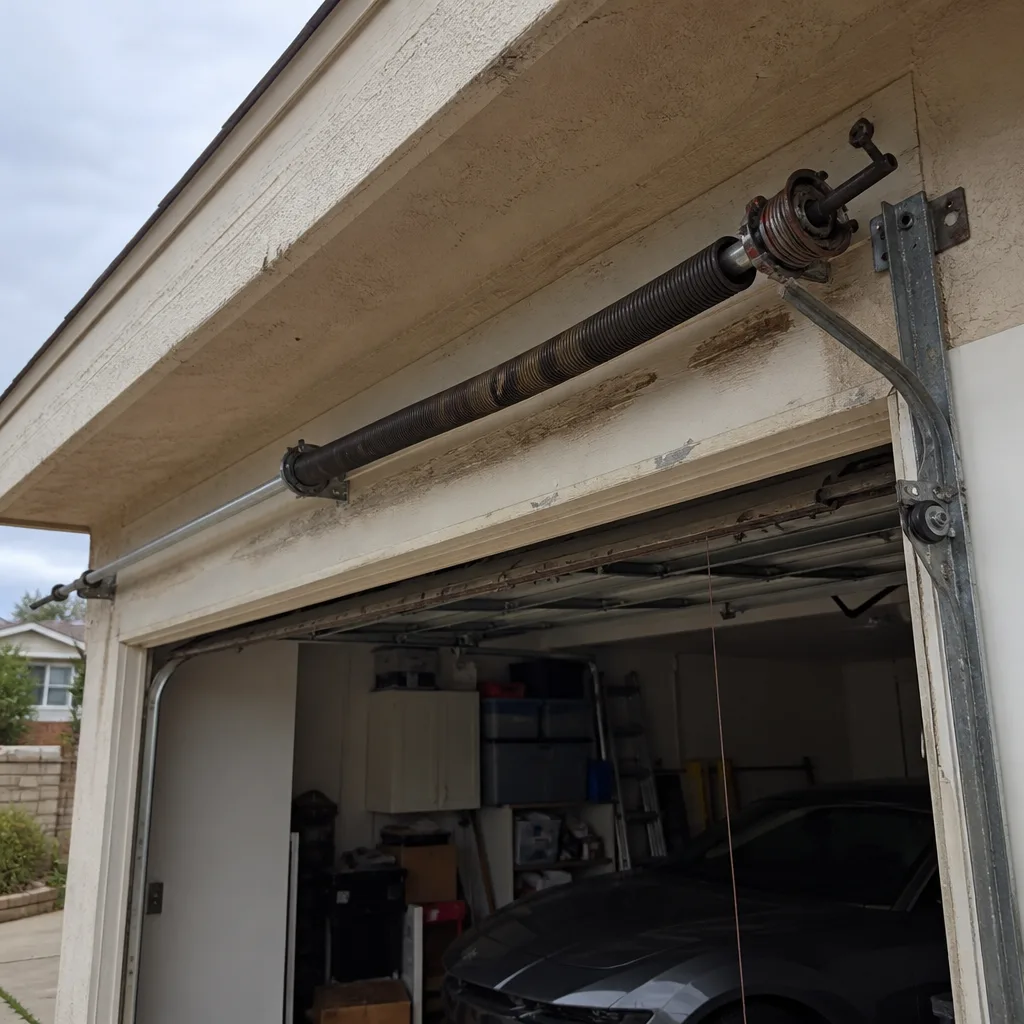 Before
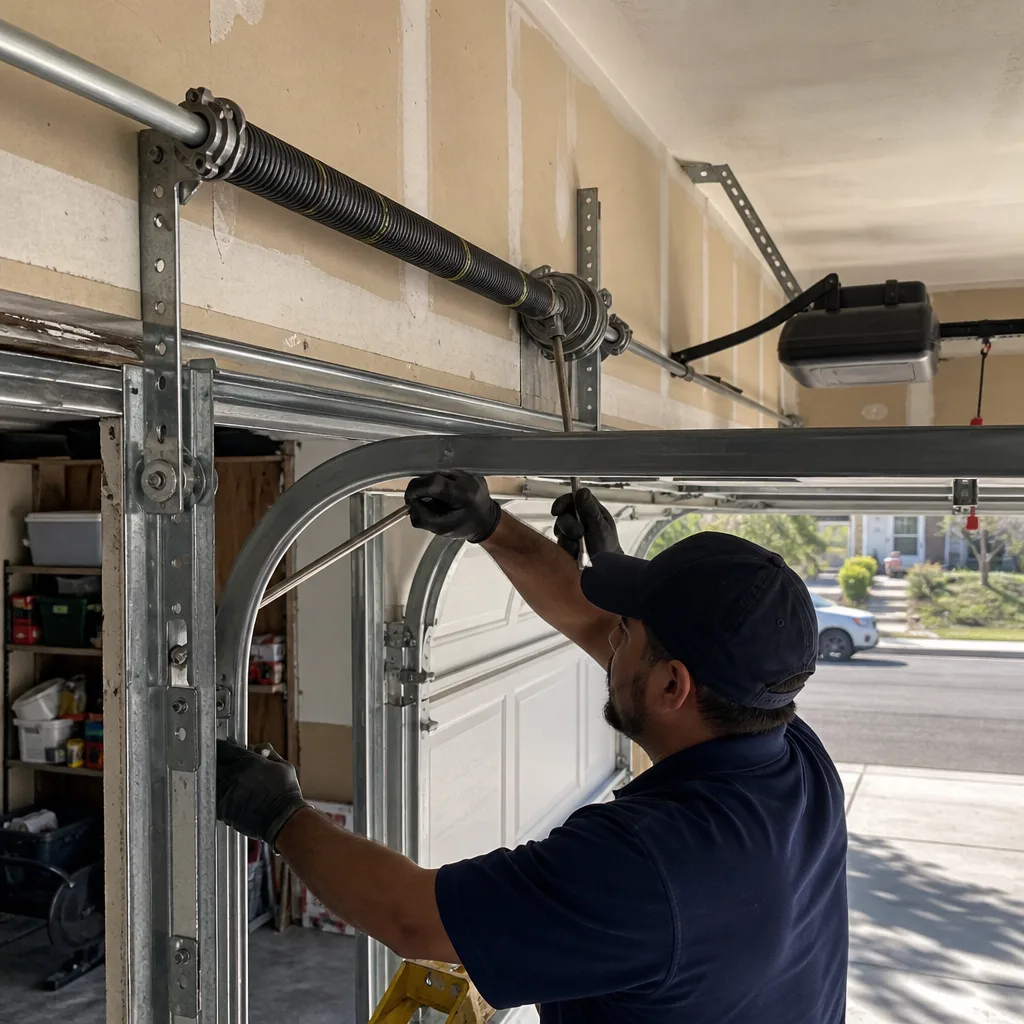 After
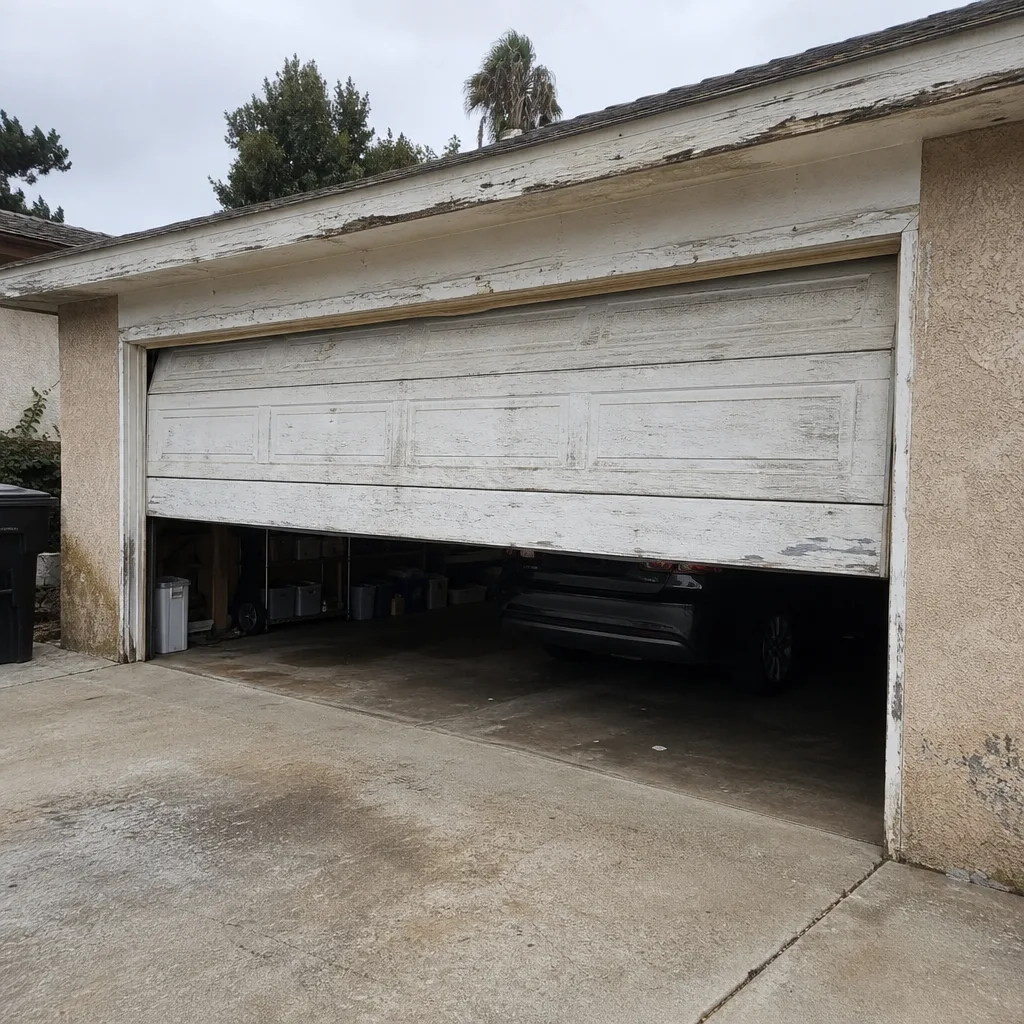 Before
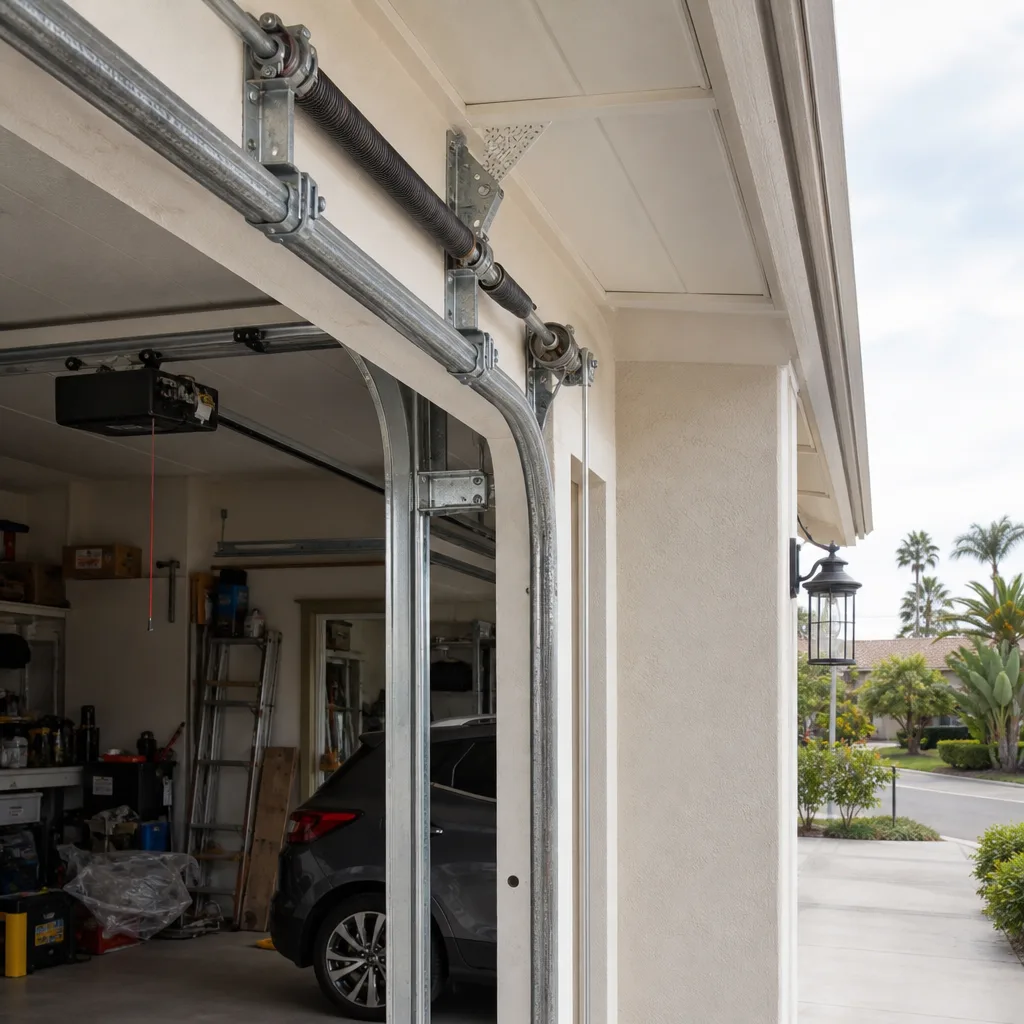 After