
Last updated October 30, 2026
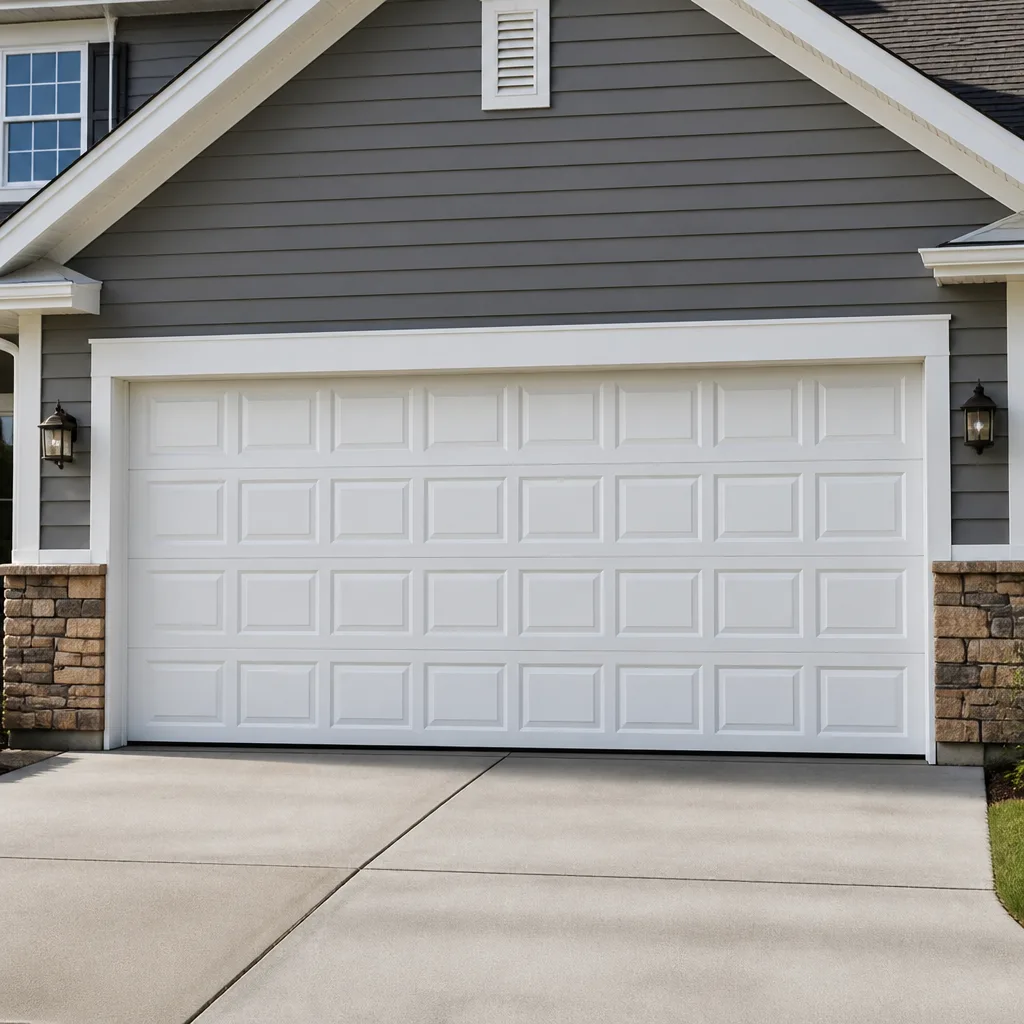 Raised-panel steel
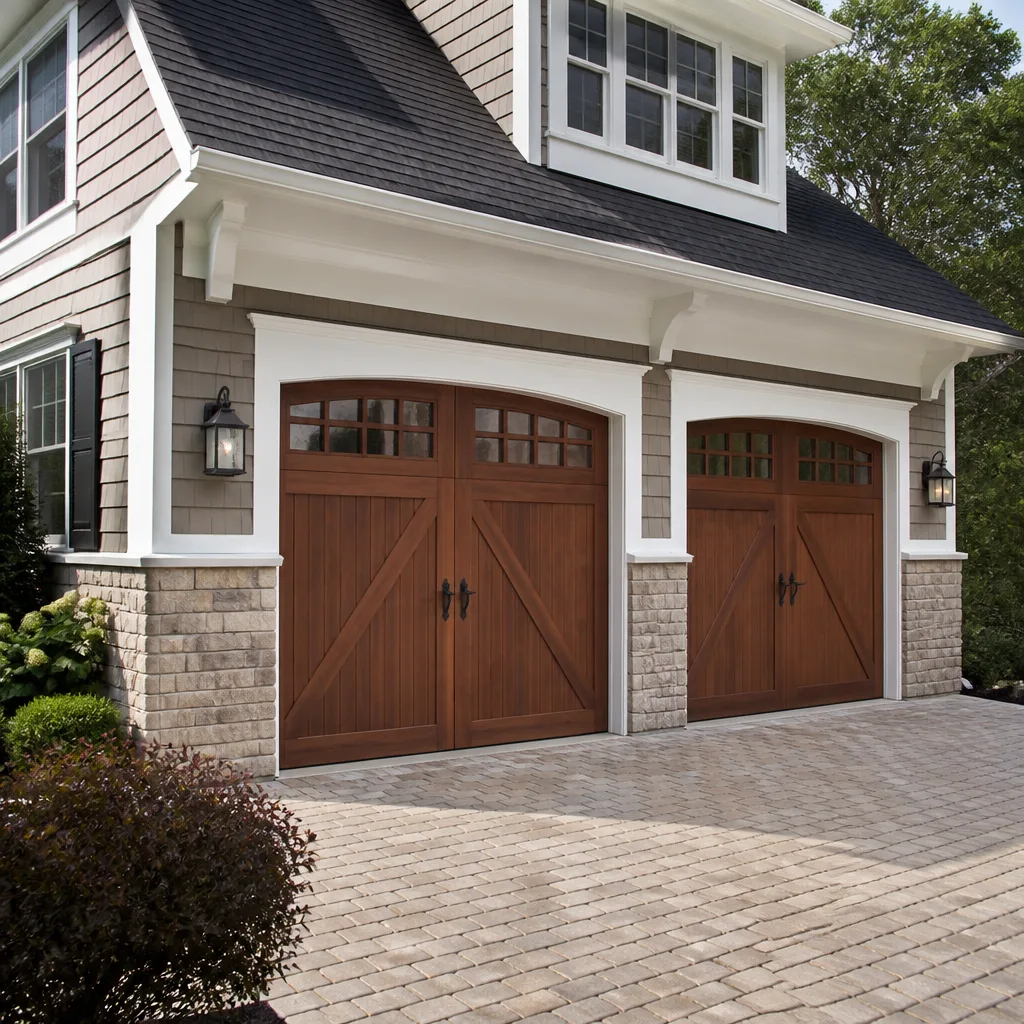 Carriage house
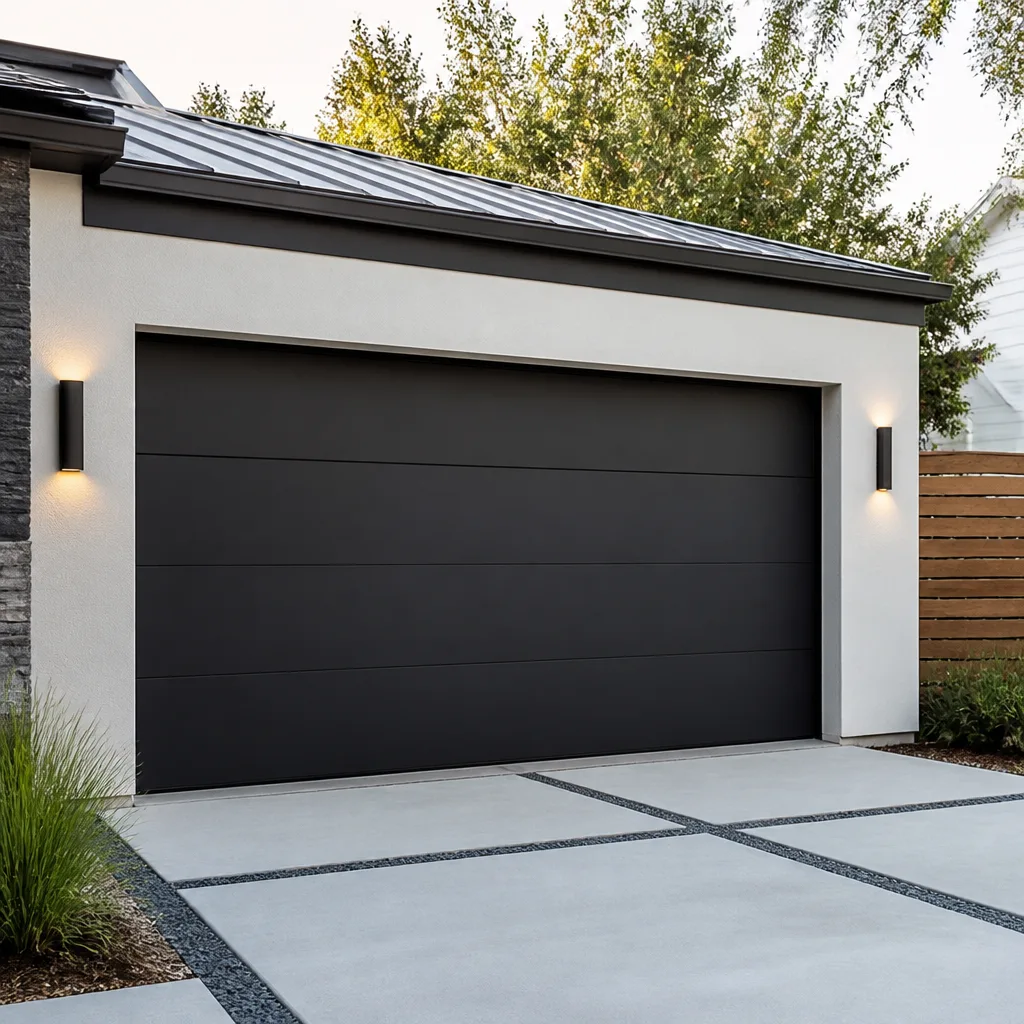 Modern flush
 Full-view glass
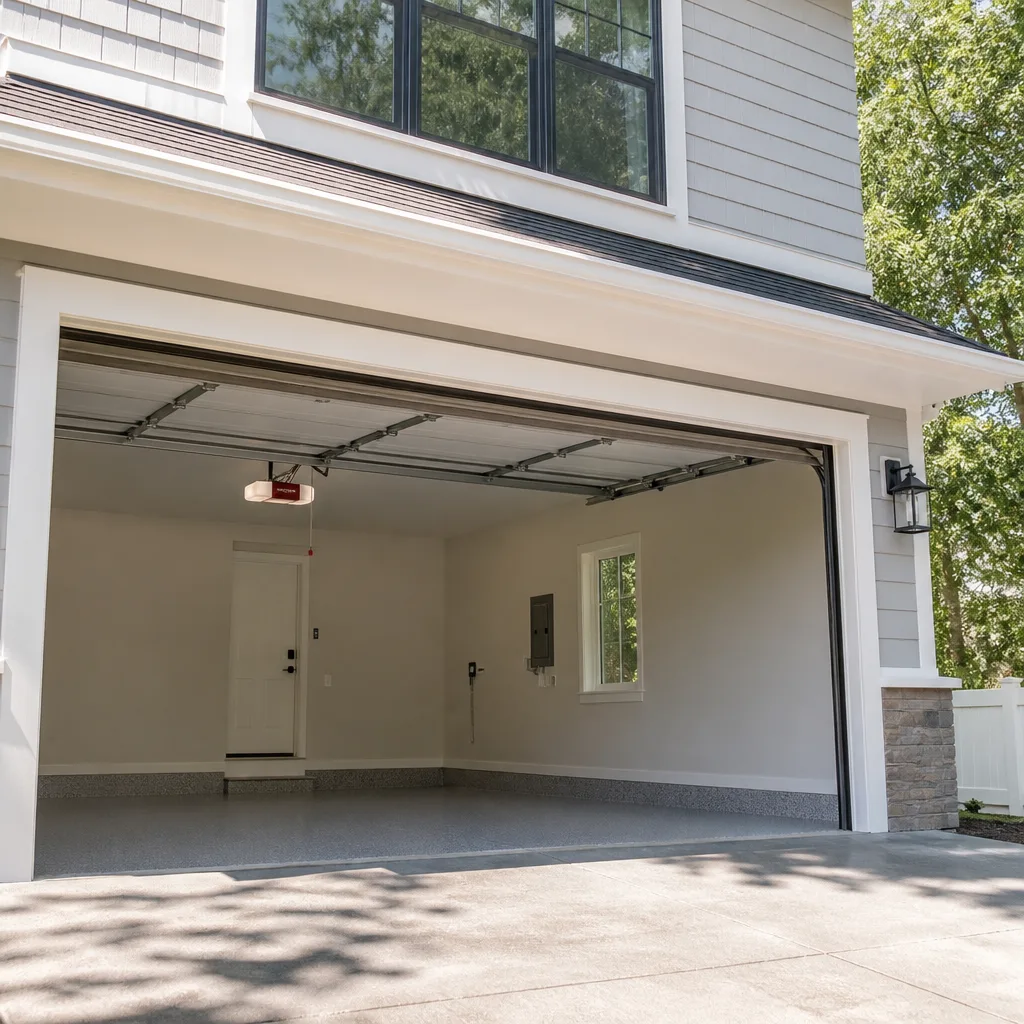 LiftMaster openers
 Chamberlain openers
Full 25-point door and opener safety check with every visit - springs, cables, rollers, tracks, and your LiftMaster or Chamberlain opener included
You get a price before we start. It does not change when the truck arrives.
Get your free estimateDIY vs Professional Garage Door: The Oceanside Homeowner’s Decision Guide
A torsion spring on a standard residential garage door stores roughly 100 to 150 pounds of torque per quarter-turn, and a typical seven-foot door spring winds through more than seven full turns before it reaches working tension. That’s over a thousand pounds of stored mechanical energy sitting above your car, loaded and ready, even when the door is closed. Oceanside’s coastal air adds rust to the equation, which changes how springs fatigue and how fast cables fray. Most homeowners standing in their driveway with a socket wrench in hand aren’t facing a skill problem; they’re facing an information problem, and that’s what this guide fixes. By the time you finish reading, you’ll know exactly which tasks you can handle before lunch and which ones you should leave to someone who does this every day.
Quick Answer
In Oceanside, weatherstripping, track cleaning, lubrication, photo-eye realignment, and battery backup installation are safe DIY projects for a careful homeowner. Replacing torsion springs, lift cables, full door sections, and openers that require wiring changes should go to a professional because these tasks involve stored mechanical energy, precise balancing, and California code compliance that directly affect your safety and insurance coverage.
Styles & brands we work with
Table of Contents
- The Real Line: Energy, Not Skill
- What a Competent DIYer Can Safely Handle
- What Belongs in a Professional’s Hands
- The Torsion Spring Calculation Problem
- California Liability: UL 325 and Your Insurance
- The Hidden Cost of a Failed DIY Repair
- How to Work With a Specialist as a Partner
- Common Mistakes to Avoid
The Real Line: Energy, Not Skill
The DIY conversation around garage doors usually starts with the wrong question. People ask, “Am I handy enough?” The better question is, “How much stored energy is in this component, and what happens to me if I release it wrong?” That single question sorts nearly every garage door task into the right column.
Think of your garage door system as having two halves. The first half is the door itself: panels, hinges, rollers, tracks, weatherstripping. These parts are heavy but predictable. Gravity pulls them down. You can see what they’re doing. The second half is the counterbalance system: torsion springs, extension springs, cables, drums, and the hardware that ties them together. This half is under constant tension, even at rest. It holds the weight of the door so your opener motor, which is surprisingly small, only has to move a few hundred pounds rather than lift it.
In our experience fixing doors along Oceanside’s coastal corridor, the dividing line between a smart DIY call and an emergency room visit comes down to one thing: whether the part you’re touching is under load. A photo-eye sensor pops off its bracket with a Phillips screwdriver and zero drama. A bottom weatherstrip slides out of its retainer after you loosen four screws. Those are honest, reasonable homeowner tasks. A torsion spring, by contrast, is wound tight against gravity all day
every day. When it snaps, the released energy in that spring has to go somewhere. If your hand, arm, or face is in the path, it goes there. That’s not a scare tactic; it’s the same reason you don’t stand behind a loaded crossbow. The energy doesn’t care whether you knew it was there.
Oceanside’s salt air makes this line even sharper. Coastal humidity accelerates rust on spring coils. A spring that looks fine on the outside can be internally compromised. When a fatigued spring finally lets go, it often does so without warning, and the failure mode is violent. We’ve seen doors in Fire Mountain and South Oceanside where the spring snapped in the middle of the night, and the sound alone sent neighbors to the driveway to check for a car accident.
Key Takeaways on Energy and Risk
- Torsion springs are under maximum load when the door is closed, not open.
- Coastal rust in Oceanside accelerates spring fatigue and makes failure less predictable.
- If a part is visible, accessible, and not under tension, it’s likely a DIY candidate.
- If removing a fastener releases tension you can’t see or measure, call a professional.
What a Competent DIYer Can Safely Handle
There’s a real, legitimate list of garage door maintenance tasks that a careful homeowner in Oceanside can handle without professional help, and you’ll find more guides & resources on our blog for coastal home maintenance. These tasks share three traits: they don’t touch the counterbalance system, they don’t require specialized calibration tools, and the penalty for getting them wrong is inconvenience rather than injury. Here’s the list, with the level of care each task demands.
1. Lubrication
Garage door rollers, hinges, and tracks need lubrication every six to twelve months in coastal environments. The salt air here accelerates both wear and noise. Use a lithium-based or silicone spray on the rollers’ ball bearings, the hinge pivot points, and the torsion spring coils themselves (spraying the spring is safe; touching or adjusting it is not). Wipe the tracks clean but don’t grease them. Greased tracks collect sand and grime, which turns into grinding paste over time. A properly lubricated door runs quieter and puts less strain on the opener motor.
2. Weatherstripping Replacement
The rubber seal along the bottom of your door and the vinyl trim along the jamb take a beating from Oceanside’s sun and salt. Replacing bottom weatherstripping is a straightforward job: pull the old strip from its aluminum retainer, slide the new one in, trim to length. Jamb seals are held by nails or screws and come in pre-formed kits. This is about as difficult as recaulking a bathtub, and it directly improves the energy efficiency and pest control of your garage.
3. Photo-Eye Alignment
If your door reverses for no reason or refuses to close, the problem is often simple: the two photo-eye sensors near the floor have drifted out of alignment. Each sensor has an LED indicator light. When aligned, both lights stay solid. When misaligned, one blinks or goes dark. Loosen the wing nut on the sensor bracket, adjust the angle until the light goes solid, and tighten. This takes ten minutes and doesn’t require touching any high-tension component.
4. Battery Backup Installation
Most modern openers support a battery backup unit, and in Oceanside, where Santa Ana winds and occasional coastal storms can knock out power, a battery backup is practical home prep. Installation usually involves mounting a small box to the opener rail and plugging in a wiring harness. If you can install a ceiling fan, you can install a battery backup. The Garage Door Opener Repair in Oceanside page covers this in more detail for homeowners who want to see what’s involved.
5. Track Cleaning and Inspection
You don’t need to remove the tracks to maintain them. Wipe the interior surface with a clean rag to remove debris. Check for visible bends, gaps between track sections, or loose mounting bolts. Tighten anything that’s come loose. If a track is bent or kinked, stop and call someone: bent tracks are a repair job that requires the door to be supported and realigned, which quickly moves out of DIY territory.
For everything on this list, the failure mode is forgiving. You’ll notice the problem, fix it, and move on. That’s the right kind of DIY.
What Belongs in a Professional’s Hands
Now the other column. These are the jobs where the cost of being wrong is measured in hospital bills, insurance deductibles, or a door that fails catastrophically at the worst possible moment, as covered in our Garage Door Emergency Preparedness Guide for Oceanside Homes. You’ll notice that most of these involve either the counterbalance system or the structural integrity of the door itself.
1. Torsion and Extension Spring Replacement
This is the one we’ll say outright: do not attempt this without professional training and the right tools. Torsion springs require winding bars, not screwdrivers or pry bars. Extension springs require safety cables to be threaded through the center, and the springs themselves must match the door’s weight and lift geometry exactly. Getting any of this wrong turns a spring into a projectile.
2. Cable Replacement
Lift cables attach to the bottom brackets and run up to the drums. They carry the full weight of the door whenever it moves. Replacing a cable means releasing tension from the system, threading the new cable precisely, and re-tensioning everything in the correct sequence. If a cable snaps while you’re working on it, the door can drop suddenly. People have lost fingers.
3. Full Panel or Section Replacement
A single damaged panel can be replaced, but the panel must match the door’s brand and model, and the door’s weight changes with each section removed or added. That changes spring tension requirements. Most Oceanside door like Garage Door Repair in Oceanside involve an inspection first, because a bent panel usually indicates an underlying issue: a broken spring, a bent track, or an opener that’s been struggling for months.
4. Opener Motor Replacement
This sits on the line. A homeowner can purchase a new opener at a home center, and many do install them successfully. But “successfully” means more than the door opening and closing. The opener must be programmed for force limits, travel limits, and safety reversal, and it must meet the UL 325 standards we’ll get to in a moment. If you’re not comfortable with wiring and programming, this is a professional job. The Garage Door Installation in Oceanside page covers new opener installation options for homeowners who’d rather not do it themselves.
5. Track Repair or Replacement
Vertical and horizontal tracks guide the door through its travel path. If a track section is bent, kinked, or pulled away from the wall, the door can bind and jam. Repairing a track properly means supporting the door’s weight, realigning all sections, and verifying smooth travel with the springs under load. This is where “eyeballing it” stops working and calibrated measurement, often with a level and testing equipment, is essential.
The Torsion Spring Calculation Problem
Torsion spring replacement is the single most common garage door repair in the country, and it’s also the one homeowners most frequently underestimate. Here’s why: a torsion spring isn’t a part you look up and swap. It’s a custom torque calculation for your specific door.
When a professional replaces a torsion spring, here’s what actually happens. The technician weighs your door. Not guesses: weighs it, because a two-car garage door can range from 150 pounds for an uninsulated aluminum model to over 400 pounds for a triple-layer insulated steel door with glass panels. Then they measure the inside diameter of the old spring, the wire gauge, the number of coils per inch, and the spring’s overall length. They count the turns based on the door’s height and cable drum size. Then, and only then, do they select a spring with the right cycle life rating, typically 10,000 to 25,000 cycles, and wind it to the correct tension.
Here’s the part most online tutorials skip: if you buy a spring solely by matching the old one’s wire diameter and length, you’re assuming the previous spring was correct. In our experience in Oceanside, a surprising number of doors have the wrong spring installed from a previous repair, especially in older homes in the neighborhoods east of the 5. The previous tech might have used what was on the truck rather than what the door actually needed. Copying a wrong spring just repeats the error.
And if the spring is too weak, the opener works harder every single cycle. That’s why openers prematurely burn out their gears or circuit boards. If the spring is too strong, the door flies up and slams at the top of its travel, stressing the hinges, rollers, and opener carriage. The balance point is measured in quarter-turns, not full turns, and the difference between “close enough” and correct is about four times more load on your opener than it was designed to handle.
This isn’t a lookup table. It’s a diagnostic process. That’s why mastering it takes years, not a YouTube video.
California Liability: UL 325 and Your Insurance
California has specific regulatory requirements for garage door openers, and those requirements have real insurance implications if you do the work yourself. Section 16 CCR § 1211 requires automatic garage door openers installed or replaced in residences to meet the UL 325 standard for entrapment protection, including a functioning auto-reverse mechanism. This means the door must reverse when it encounters resistance, and the photo-eye sensors must be operational and properly mounted no more than six inches above the floor.
Here’s what that means for a homeowner in Oceanside: if you install an opener yourself and the installation does not meet UL 325, and that door later causes damage or injury, your homeowner’s insurer can deny the claim on the grounds that the equipment was not compliant with state law. This isn’t speculation; California insurers have denied claims after incidents involving improperly installed openers. The burden of proof shifts to you to show the work was done correctly.
Professional installers are expected to verify compliance and, in many cases, document it. That documentation becomes part of the paper trail that protects you in a claim scenario. When you do it yourself, there’s no third-party verification. The door works or it doesn’t, and you may not know what you don’t know about the auto-reverse sensitivity setting until the day the door closes on something it should have released.
The same principle applies to spring work, though it’s less formalized. If a homemade spring failure causes damage and an adjuster finds evidence of unlicensed, unpermitted repair work, your claim gets harder to push through. The policy language varies, but “owner negligence” is a real clause in California homeowner’s policies.
The Hidden Cost of a Failed DIY Repair
Let’s talk about the economics, because the “I’ll save money doing it myself” math usually only counts the parts. Here’s what the full equation looks like when a DIY garage door repair goes wrong.
The Diagnostic Time Trap
You spend a Saturday afternoon watching videos and taking the door apart. You misdiagnose the problem because the symptom you saw, a door that won’t open, has six possible causes, and you picked the wrong one. You replace a part that wasn’t broken. The door still doesn’t work. Now you’re into Sunday, the door is half-disassembled, and you’re calling a professional anyway. The billable diagnostic time is the same, but you’ve added the cost of the wrong part and the value of your lost weekend.
Secondary Damage From Incorrect Installation
This one shows up weeks or months later. A homeowner replaces a spring and gets the tension wrong. The door opens and closes, so it seems fine. Then the opener’s gear starts whining because it’s carrying more load than designed. The drive gear strips. A $40 spring replacement becomes a $250 opener repair. Or the unbalanced door wears out the left side hinges faster than the right, and now the door sags and binds. We’ve replaced entire door assemblies that started as a “successful”
DIY spring swap six months earlier.
The Parts That Die From Improper Handling
Some replacement parts are surprisingly fragile. Cable drums get scored by pipe wrenches and won’t hold cable tension. Spring cones get deformed by improper winding bar sizing. Roller stems get bent when the door is forced into tracks. A professional knows which parts tolerate adjustment and which ones are intolerant of any tool marks. A DIYer discovers the limits by breaking things.
Your Time at an Honest Rate
Here’s a number many homeowners don’t run: what’s your time actually worth? If a professional completes a spring replacement in 45 minutes and charges $280 to $380, and you spend six hours doing it yourself, saving the labor means paying yourself roughly $46 to $63 per hour. That’s a fair trade for some people and a poor one for others. The difference is that a professional’s $300 also includes the right parts, the right tools, the calibration, and the guarantee. Your six hours includes none of those, and the risk of a hospital visit isn’t priced in. The Canyon Garage Door Repair home page has more on what professional service actually includes, from diagnosis to clean-up.
How to Work With a Specialist as a Partner
Here’s a scenario that doesn’t get enough airtime: you decide to call a professional, but you want to be smart about it. You want to pay for the specialist’s judgment, not their time spent figuring out what you already know. The right approach is to gather information before the phone call, so the technician arrives with context and a plan. This reduces billable diagnostic time and makes the whole visit faster.
Step 1: Note the Symptoms in Specific Language
Don’t say “it’s broken.” Say “the door opens about three feet, then stops and reverses.” Or “there’s a grinding noise when the door reaches the midpoint of travel.” Or “the opener hums for two seconds, then goes silent.” Specific symptoms correlate with specific failures, and a written note means you won’t forget the detail when you call.
Step 2: Find the Door’s Brand and Model
Look for a label or sticker on the inside of the door panel, usually near the bottom, and for the opener model on the motor housing. Brands like Amarr, Wayne Dalton, and Raynor all stamp model numbers somewhere recognizable. Knowing the brand lets the tech confirm the right parts are on the truck before they drive to your Oceanside neighborhood.
Step 3: Note What’s Changed Recently
Did the door work fine until the first cold snap of winter? Was there a recent power surge? Did a car bump the bottom panel? Changes in behavior often correspond to an event. That’s diagnostic gold for a technician.
Step 4: Have Your Questions Written Down
If you’re deciding between repair and replacement, write down what matters to you: noise level, insulation value, smart-home compatibility, budget range. This makes the consultation productive rather than improvised. Most professionals are happy to explain options if you can articulate your priorities.
Step 5: Ask for the Verification and Warranty Terms Up Front
Before work begins, ask how the tech will verify the repair before leaving, and what warranty applies to parts and labor. A door that’s been balanced and cycled six times in front of you is a door that’s been tested. A specialist will do this without being asked; it’s part of the job. But asking sets the expectation from the start.
The goal here isn’t to impress the technician. It’s to make the visit efficient and reduce the minutes you’re paying for that could have been handled by you ahead of time.
Common Mistakes to Avoid
- Matching a spring by eye instead of by measurement. Wire diameter and coil count are not visible in a photo. You’ll order a spring that’s visually close but functionally wrong, and the opener will pay the price.
- Using the wrong tools because you don’t want to buy the right ones. Winding bars cost $30. A screwdriver through the winding cone costs you a trip to urgent care. This is the wrong place to improvise.
- Disconnecting the opener before securing the door. If the door is up when you pull the emergency release, and the spring is weak, the door will drop. Put the door down first, or secure the door with locking pliers on the track.
- Ignoring the auto-reverse setting after a DIY opener install. Openers need to be calibrated for force after installation. Skipping this means the door will either stop too easily or won’t stop at all.
- Assuming Oceanside’s salt air doesn’t affect hardware until you can see rust. Internal corrosion shows up months before visible rust on the surface. Lubricate proactively, especially in neighborhoods closer to the water like South Oceanside and the harbor area.
- Replacing the opener motor without checking the door balance first. Openers don’t carry the door’s weight; springs do. If the spring is worn out, a new opener will strain just like the old one, and you’ll be replacing the opener twice.
See the difference
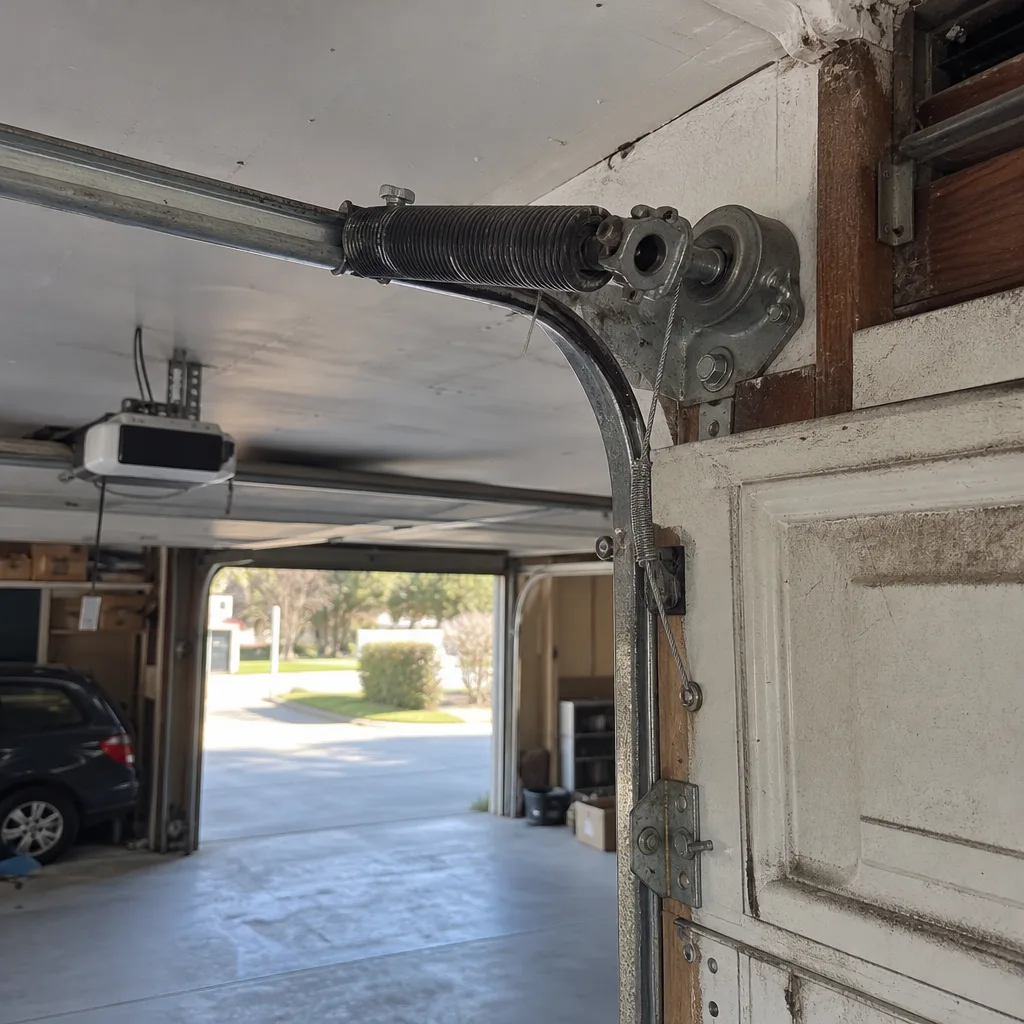 Before
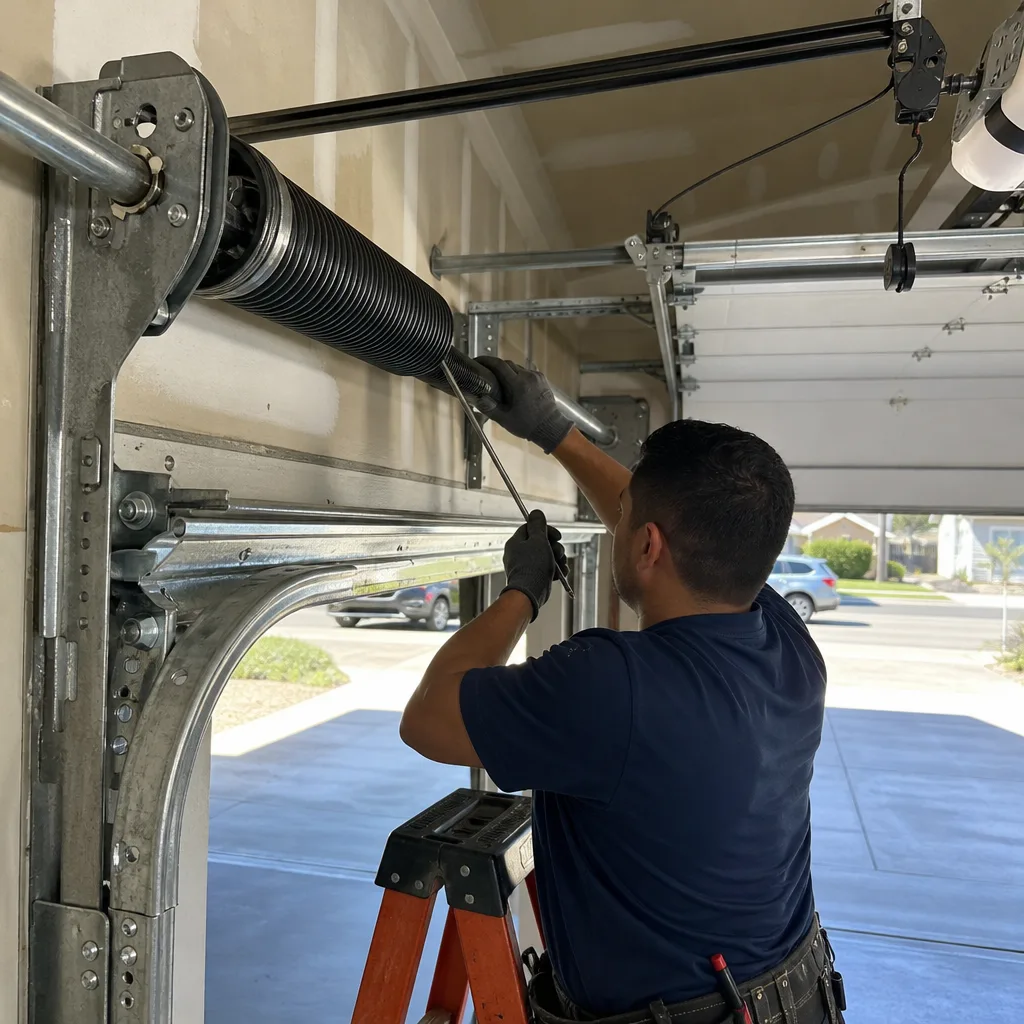 After
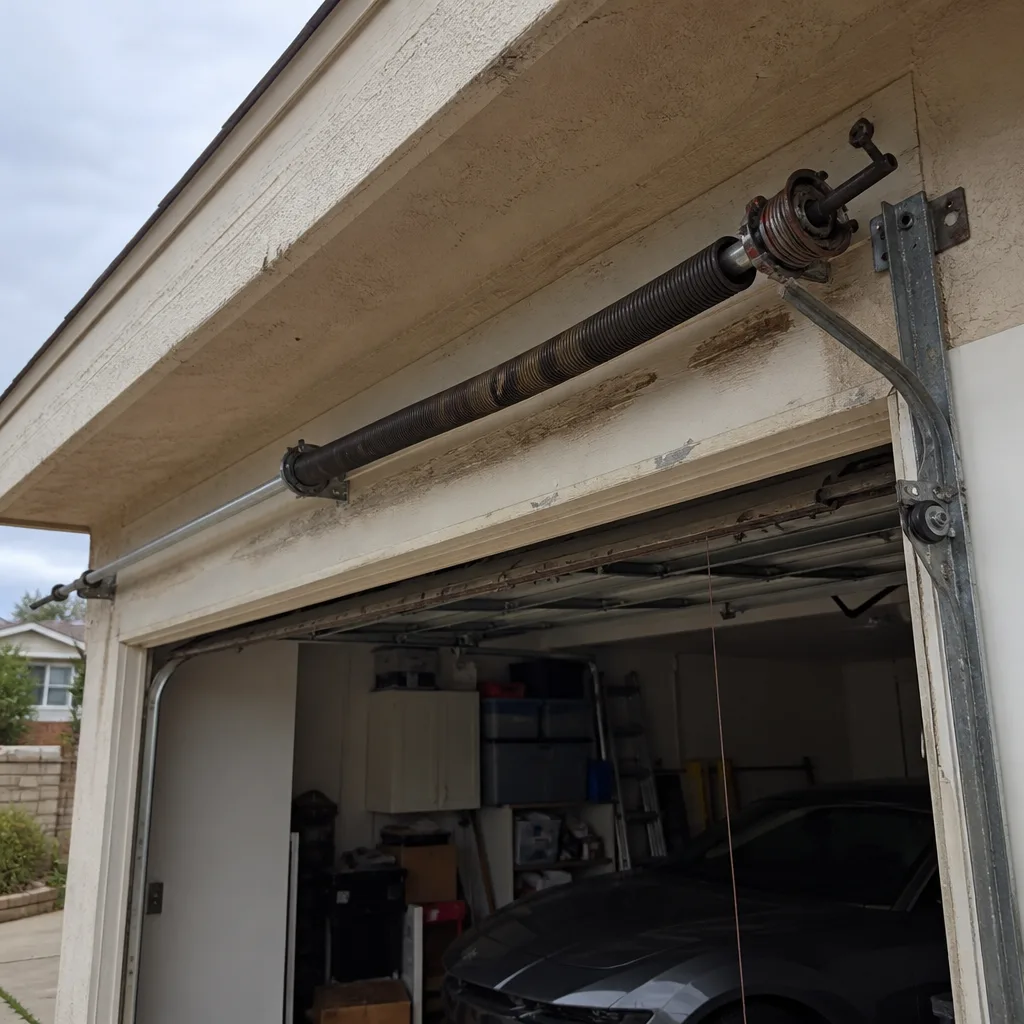 Before
 After
 Before
 After
When to Call a Professional
Call a professional when the part you’re touching is under spring tension, when the door doesn’t move freely by hand, when the opener makes grinding or clicking noises that suggest failing gears, or when you’re not certain the safety systems are working correctly after a repair. If the door weighs more than you can safely lift alone, and most do, the counterbalance system is doing real work that deserves respect. If you’re in Oceanside and you’ve reached the edge of your comfort zone, Canyon Garage Door Repair offers free estimates: call (844) 295-2241 and describe what’s happening. You’ll get an honest read on whether it’s a DIY job or a service call, and a clear quote before any work begins.
Frequently Asked Questions
Yes. Replacing bottom seals and side weatherstripping is one of the safest DIY garage door tasks because these parts are not under tension and failure is cosmetic or thermal rather than structural. You’ll need a flathead screwdriver, a utility knife, and a tape measure, and the job takes under an hour.
Torsion spring replacement in Oceanside typically ranges from $280 to $380 for a single spring on a standard two-car door, including parts and labor. Prices vary based on spring cycle life rating, door weight, and whether the job includes replacing both springs as a pair, which many professionals recommend for balanced wear. Call (844) 295-2241 for an exact quote; estimates are free and quoted before work starts.
It can lead to a denied claim. California requires residential garage door openers to meet UL 325 standards, including functional auto-reverse and properly positioned photo-eye sensors. If a DIY installation doesn’t meet these standards and the door causes injury or property damage, your insurer can argue the equipment was not code-compliant and deny coverage.
Many do, especially for panels, hinges, and some track hardware. Amarr doors, for example, use proprietary hinge profiles on many models, and some Wayne Dalton doors use a unique torque tube system instead of standard torsion springs. A specialist with brand familiarity can source the correct parts the first time, which saves money over generic substitutes that don’t fit properly.
A standard torsion spring rated for 10,000 cycles lasts about seven to ten years under normal residential use. In Oceanside’s salt-air environment, expect the lower end of that range because corrosion accelerates metal fatigue. High-cycle springs rated for 25,000 cycles are available and often cost only slightly more, which is why many coastal homeowners choose them when replacement time comes.
Before calling, check whether the opener has power, verify both photo-eye LEDs are lit solid (not blinking), pull the emergency release and try to lift the door manually by hand, and listen for the specific sound the opener makes when it runs. This information lets the technician prepare the right parts and reduces on-site diagnostic time. Then call (844) 295-2241 with what you found.
The Bottom Line
The DIY decision on a garage door isn’t about courage or competence; it’s about knowing where the stored energy lives. Replace your weatherstripping, clean your sensors, and keep everything lubricated. Those are honest, valuable homeowner tasks. But when the problem lives in the counterbalance system, the calculation changes. Torsion springs don’t reward enthusiasm. They punish improvisation. In Oceanside, where salt air accelerates wear and California code adds insurance stakes to electrical work, the smartest DIY move is often knowing when to hand the wrench to someone who does this every day. You’ll save your knuckles, your time, and sometimes quite a bit more.
Written by the team at Canyon Garage Door Repair, serving Oceanside since 2017.